How to Port Forward
modified:Step 1: Log in to your router via the default gateway address.
Step 2: Enter the credentials for your router on its login page.
Please Note: The credentials for your router should be found on a sticker located underneath or behind your router. If not, you can try the most common credentials below.
Device Username Password
D-Link admin (leave blank)
Netgear admin password
Linksys admin admin
Asus admin admin
DrayTek admin admin
ZyXel admin 1234
TP-Link admin admin
TRENDnet admin admin
Belkin admin (leave blank)
Technicolor admin admin
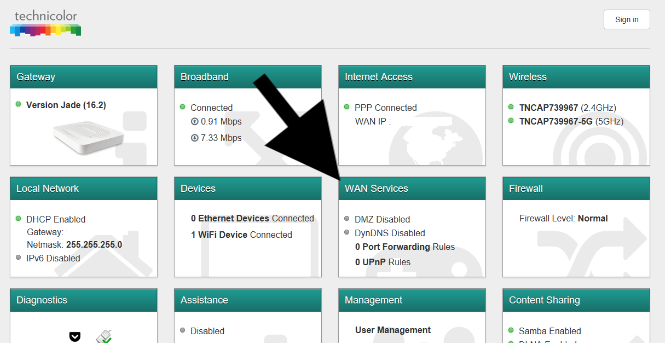
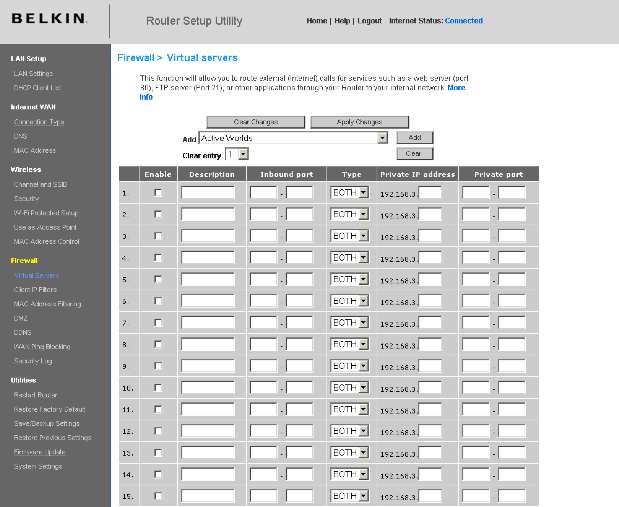
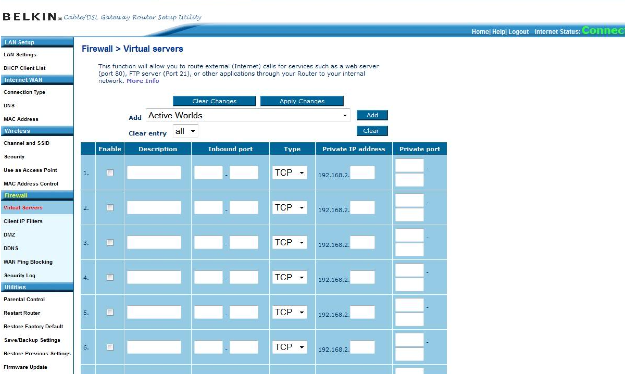
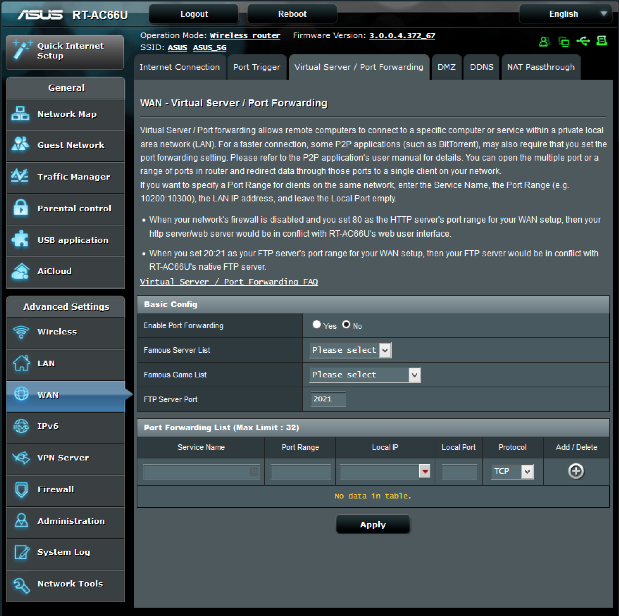
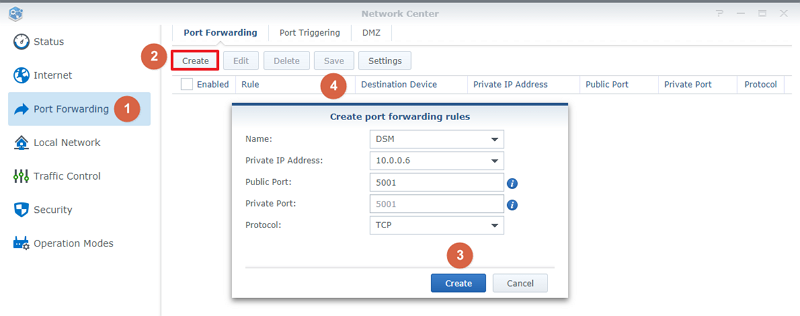
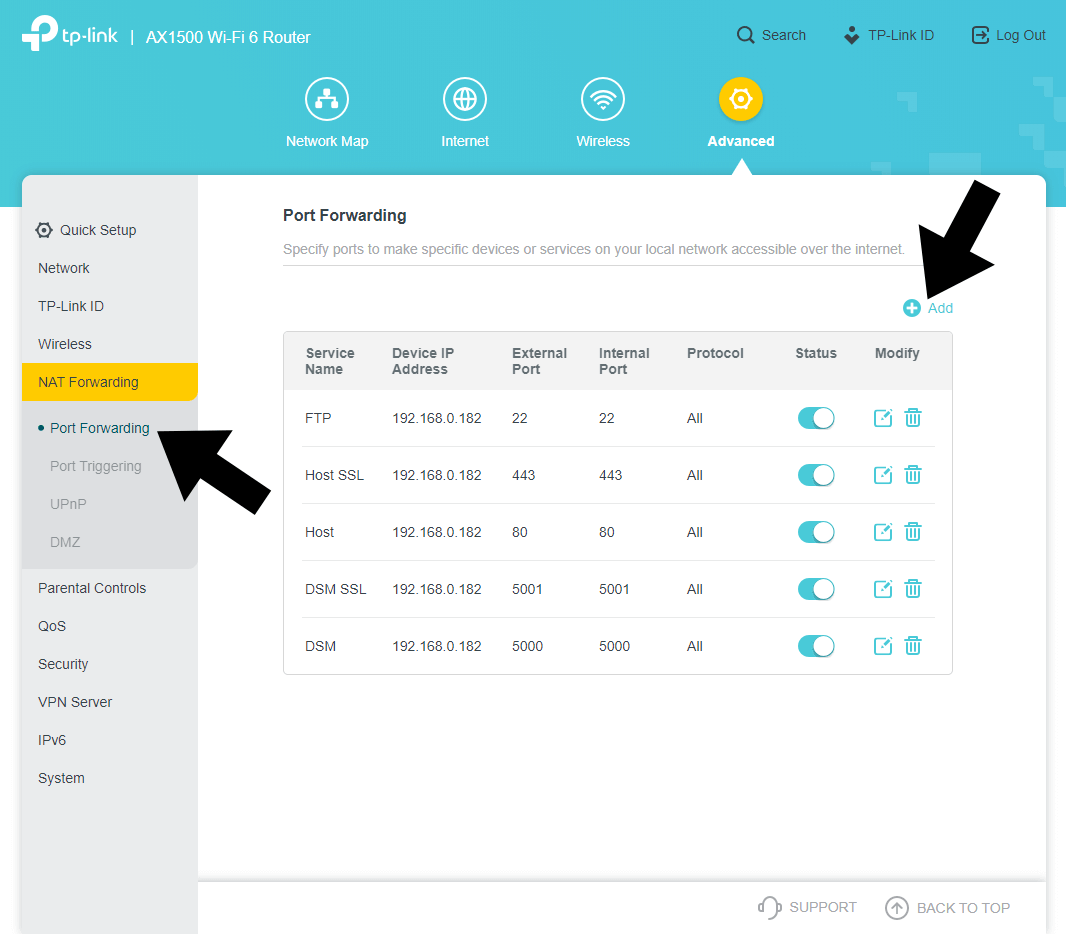
Step 3: Next, locate the port forwarding settings. Typically this will be under Advanced and then Port Forwarding or Virtual Server.
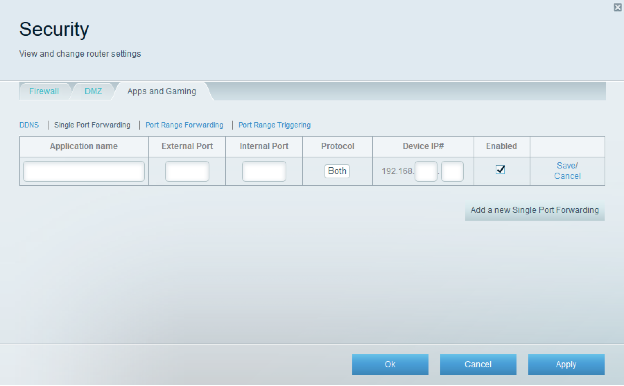
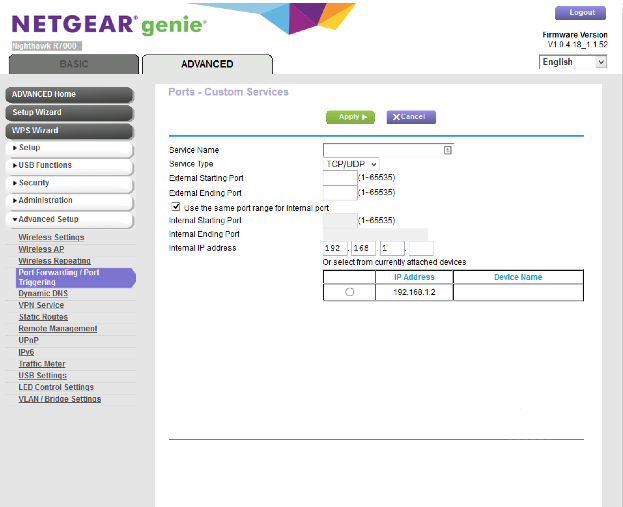
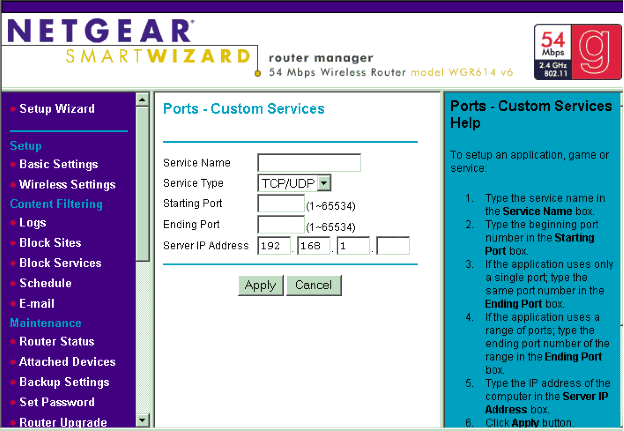
Step 4: On the Port Forwarding page, you will be prompted to enter a custom name for your device. Then you’ll enter the desired port you are forwarding in the port field (default EPSON terminal printer port: 9100). Select “TCP/UDP” under protocol or “Both” if you are unsure of which protocol you are using. Next, enter the internal IP address of the printer you are port forwarding to and click “Apply” or “Save” to store the changes. To get printer internal IP click here: get printer internal IP
Step 5: Finally, check if the port is open by going to www.portchecktool.com. Enter the port number you have forwarded and click Check Your Port. If the port is available, a report should come back stating so.
You should now be able to connect to your printer via a web browser. Enter your hostname followed by the port number into the address bar—for example, http://hostname.ddns.net:9100.
Below you will see interfaces from the most popular manufacturers. Be aware that your router may display a different interface.
Linksys

NETGEAR
Belkin
ASUS
SINOLOGY
TP-link
TECHNICOLOR